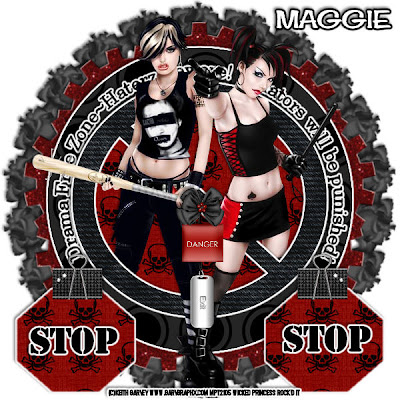
DRAMA FREE ZONE – PTU
This tutorial was written on July 29, 2009 by Shani aka Wicked Princess. The concept of the tag is mine and mine alone. Any resemblance to any other tag/tut is pure coincidence. This was written for those with working knowledge of PSP.
Supplies Needed:
++Paint Shop Pro ( I used 10 but any version should work)
++Scrap kit by Maggies Scrap called Demon Circle can be found HERE
++Template 13 by me can be found HERE
++Two tubes of choice or the ones I used. I used the artwork of Keith Garvey you can purchase it HERE
++Plug ins:
-Xero Radiance
-Eye Candy 4000 Gradient Glow
-Muera Meister Copies
**NOTES:
-Add Drop shadow of choice as you go
-You can merger layers as you want to make things easier for yourself.
Open the template in PSP, using your shortcut keys on your keyboard (SHIFT+D) duplicate the template as a new image. Close the original.
Open several papers of choice, resizing as needed. For example, when I look at the blue bar where it tells me what I’ve opened (say like paper 2) it tells me what percentage I’m viewing it at. For me it’s usually 16%, so I resize to 16% bringing it to 100%. ( I hope that made sense!) Once you’ve done this, minimize for later use.
Next go to the bottom template layer and go to selections, select all, then float, selections defloat. Add a fat gradient glow with your choice of colors. Don’t forget to go to selections, none then delete the template layer. Repeat this process for the rest of the template.
Open the rose with stem you like. Copy and paste as a new layer into the center of the canvas. Resize it a bit as needed. Use your plug in Muera Meister copies on the encircle option. I used the 50 for shift x and y. how many roses you want is up to you. Move this layer to the bottom.
Choose one of the glitter accents you like. Copy and paste as a new layer into the center of the canvas. Repeat the muera meister copies option with the same settings. Move this layer above the roses layer.
Open your tubes of choice, copy and paste as a new layer into the center of the canvas. Add your plug in Xero radiance on the setting you like. Duplicate them and move one set below the no sign layer. Go to the top tube layer again and using your eraser tool, erase the parts you don’t want seen.
Add a binder clip to each of the stop signs. Then add a padlock and bow between the two tubes.
Add your text, copyrights, license info and tagger markings. Save and your done! Thank you for trying my tutorial!

No comments:
Post a Comment