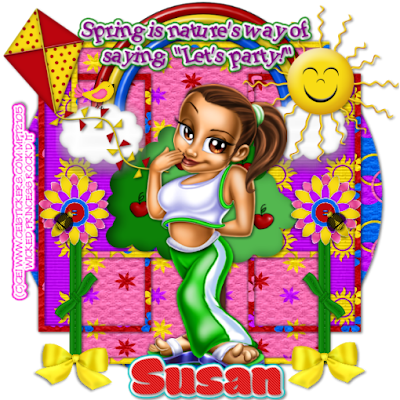
Spring Princess Party Tutorial
This tutorial was written on April 13, 2009 by Shani aka Wicked Princess and the concept of the tag is mine and mine alone. Any resemblance to any other tag is coincidental.
Supplies needed:
Wicked Template #1, which can be found on this blog
Kit of choice or the one I used, Spring is here (FTU) and can be found here:
http://lacarolitasdesignz.blogspot.com/2009/03/freebie-spring-is-here.html
Tube of choice, I used the artwork of CEI which can be purchased through www.mypsptubes.com
Let’s party! This is going to be a quick and easy one!
*note add drop shadow of choice as you go
Open the template in PSP, delete the copyright layer.
Open 5 papers of choice and minimize to be used later.
Make sure the circle layer is active and using your magic wand tool, click on the inside of the circle. Go to selections, float then selections, defloat. Add a NEW raster layer and flood fill with the paper of your choice.
Continue this for the rest of your template.
Open the tree of choice, resizing as needed and place in the center of the bottom rectangle. Make sure it’s the top layer.
Open the rainbow, sun, flowers of choice, bee’s, ribbons and kit of choice, placing where you would like them (look at my tag for reference)
Add tube of choice, copyright, license info and taggers marking.
Add the text of your choice and save!
See wasn’t that easy? J
Thank you for trying my tutorial!

No comments:
Post a Comment