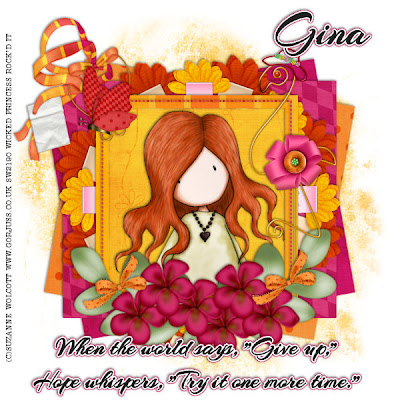
Hope Whispers-FTU
This tutorial was written on July 24, 2009 by Shani aka Wicked Princess. The concept of the tag is mine and mine alone. Any resemblance to any other tag/tut is pure coincidence. This was written for those with working knowledge of PSP.
Supplies Needed:
++Paint Shop Pro ( I used 10 but any version should work)
++Kit called Flamingo Juice by Gina @ Kikeka Kits can be found HERE
++Template 165 by Missy can be found HERE
++Tube of choice or the one I used. I used the artwork of Suzanne Wolcott and it can be purchased, HERE
++Plug ins:
-Muera Meister Copies
++Font and mask of choice
Let’s get Started!
**NOTES:
-Add Drop shadow of choice as you go
-You can merger layers as you want to make things easier for yourself.
Open the template in PSP, using your shortcut keys on your keyboard (SHIFT+D) duplicate the template as a new image. Close the original.
Open several papers of choice, resizing as needed. For example, when I look at the blue bar where it tells me what I’ve opened (say like paper 2) it tells me what percentage I’m viewing it at. For me it’s usually 16%, so I resize to 16% bringing it to 100%. ( I hope that made sense!) Once you’ve done this, minimize for later use.
Your going to want to adjust the canvas and make it larger. Go to image, canvas size and increase it by 600 x 600.
Next go to the bottom template layer and go to selections, select all, then float, selections defloat. Don’t forget to go to selections, none then delete the template layer. Repeat this process for the rest of the template.
Add a new raster layer and flood fill with your choice of paper. Add your mask and merge the group. Move this layer to the bottom of your layer palette.
Using your magic wand tool, click inside the frame. Go to selections, modify expand by 4. Add a new raster layer and flood fill with your choice of paper. Go to selections, none and then move this layer below the frame.
Open your choice of clips with flowers. Resize the first one and copy and paste it as a new layer into the center of the canvas. Use your plug in muera mester copies, with the encircle option. I used 50 for the shift x and y. Add the next flower after resizing and do the same thing. Angle the flowers slightly so that they intertwine now and offset each other. Close off all other layers except the two flower clip layers. Merge visible then open up all layers again. Move this layer below the frame and background layer.
Add your tube of choice and resize as needed. Move below the frame layer.
Next open your flower bundle of choice. Resize it and copy and paste as a new layer below the frame layer. Add your choice of bows to either side of the flowers.
Open your choice of wire and ribbon tag. Copy and paste as a new layer to the left hand side of the tag. Add your choice of butterfly next to it.
Next add the wire flamingo you like to the right side of the tag. Adjust and move as you like.
Finally add your tagger markings, copyrights, and license number.
Save and your done!
Thank you for trying my tutorial.

No comments:
Post a Comment