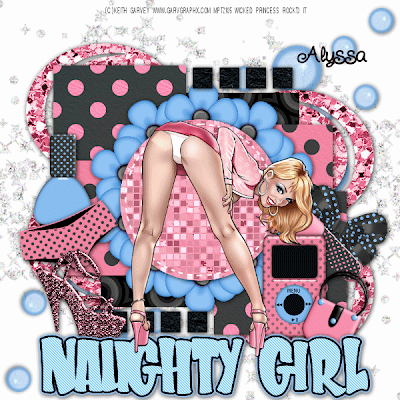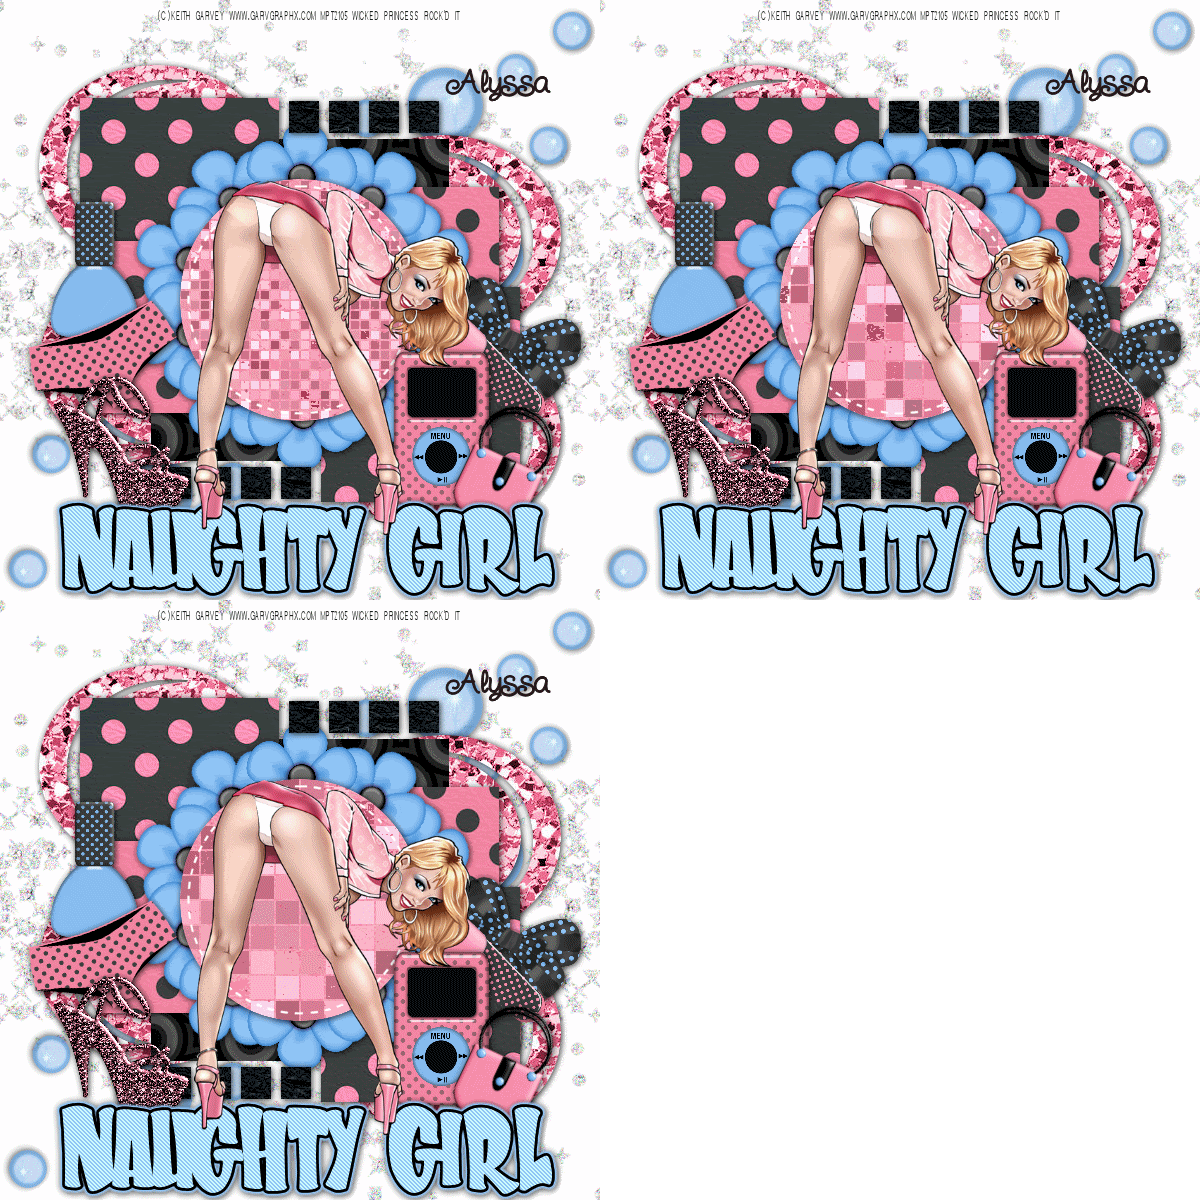

Naughty Girl (Animated) PTU
**NOTE THIS IS AN ANIMATED TAG. HOWEVER YOU Don’t have to animate!**
This tutorial was written on July 18, 2009 by Shani aka Wicked Princess. The concept of the tag is mine and mine alone. Any resemblance to any other tag/tut is pure coincidence. This was written for those with working knowledge of PSP.
Supplies Needed:
++Paint Shop Pro ( I used 10 but any version should work)
++Animation Shop 3
++Scrap kit by Alyssa called Girlie spots can be purchased from HERE
++Template 7 by Wacky Scraps can be found HERE
++Tube of choice. I used the artwork of Keith Garvey. You can purchase her work HERE You must have a valid license in order to use her work.
++Plug ins:
-Eye Candy 4000-Jiggle
-Xero-Fritallary
-Muera Meister Copies
Effects: Noise
**NOTES:
-Add Drop shadow of choice as you go
-You can merger layers as you want to make things easier for yourself.
Open the template in PSP, using your shortcut keys on your keyboard (SHIFT+D) duplicate the template as a new image. Close the original.
Open several papers of choice, resizing as needed. For example, when I look at the blue bar where it tells me what I’ve opened (say like paper 2) it tells me what percentage I’m viewing it at. For me it’s usually 16%, so I resize to 16% bringing it to 100%. ( I hope that made sense!) Once you’ve done this, minimize for later use.
Next go to the bottom template layer and go to selections, select all, then float, selections defloat. Don’t forget to go to selections, none then delete the template layer. Repeat this process for the rest of the template
Open the bling element. Copy and paste it as a new layer in the upper left hand corner. Duplicate it and go to image, mirror. Close off all layers and merge thee two. While they are still close off, open the bubbles of choice. Copy and paste after resizing into the upper right hand corner of the canvas. Duplicate it and go to image mirror. Close off the bling layer and merge this one.
Open the flower of choice. Resize then copy and paste into the center of the canvas. Go to your plug ins, muera meister copies using the encircle option. Set the shift x and y to I believe 45. Adjust as you need to, and move this layer below the circle template layer.
Next open the shoe, undies and polish of your choice. Resize them and copy and paste as a new layer to all to the left side. Arrange them how you like.
Now open the purse, MP3, chapstick and bow of your choice. Resize them and copy and paste as a new layer to the right side. Arrange them how you like.
Next add your tube of choice, placing in the center of the tag. NOTE I did my text and moved the tube to the top layer. This is optional, you set it how you like.
Add your copyright, any text and tagger markings.
Save this as a psp image if your choosing to do animation. If not save either as a png or jpeg.
++ANIMATION++
Open Jasc Animation 3.
Go back to PSP and follow these steps to set up your animation….
Activate the bling layer, and duplicate it twice. You should now have 3 of them. Go to the bottom one and go to Adjust, add/remove noise and add these settings:
Make sure Uniform is checked and the percentage to 25 then click ok.
Go to the next bling layer, repeat this but make the percentage 35.
Go to the third bling layer, repeat this but make the percentage 45.
Next your going to go to your circle template layer, make sure this is the active layer. Duplicate it twice, so you now should have three. Go to the bottom circle and add the Xero Fritallry plug in. I just did a random one that I liked.
Go to the next circle layer and do the same, hitting random again. Do this one more time for the third circle layer.
Now comes the jiggling booty! Lol
Activate your tube layer, and duplicate it twice. You should now have three. Go to the bottom tube layer. Using your freehand selection tool (it looks like a rope) trace around the area of her booty that you want to make “jiggle” remember to not do it too far out or you’ll mess it up. To make it easier for myself to be able to trace and not mess up, I have my freehand selection set to the following:
Selection type: point to point
Mode: Shift
Feather:0
Anti Alias checked
Smoothing:0
This allows me to click in one spot angle out click to connect and so on. Once you have it traced all around like you like, right click to make it the dancing dots.
Ok now you should have the selection all ready and the dancing dots are active. While still on this layer, go to your plug in Eye Candy 4000-Jiggle with these settings:
Movement type: Bubbles
Bubble size (pixels): 36.00
Warp Amount (pixels): 7.20
Twist: 20
Random Seed set to 5
Click ok.
Go to the next tube layer up repeat this but Random Seed set at 10.
On the final tube layer repeat this again but Random Seed set at 15
Go to selections none.
Now is the time to animate!
Starting at the bottom, go to the bling layers. Close off the top two bling layers. The bottom one should be the only one open.
Go to the first circle layer leave it open and close off the other two.
Go to the first tube layer, leave it open and close off the others.
Now go to edit, copy merged.
Go over to Animation shop, right click and click on paste as new animation.
Go back to PSP, close off the first layers for the bling, circle and tube and open the second one. Go to edit, copy merged and back to animation shop.
Go to edit, paste, paste after current frame.
Back to PSP….
Close off the second layers of the bling, circle and tube layers and open the third ones. Go to edit, copy merged and back to animation shop once more!
Go to edit, paste, paste after current frame.
Now we’re going to animate…
Go to the tool bar and click on the little button that looks like a movie film clip. You should now see your tag animated!
Save it as a gif and your done!
Thanks for trying my tutorial!

No comments:
Post a Comment