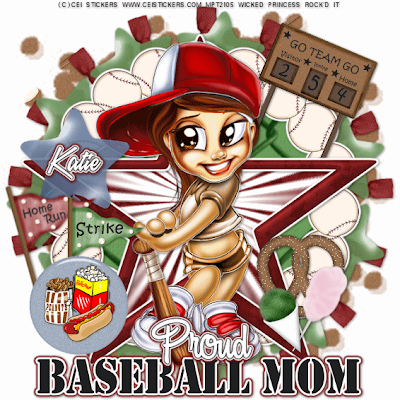

Proud Baseball Mom-PTU (ANIMATED)
This tutorial was written on August 3, 2009 by Shani aka Wicked Princess. The concept of the tag is mine and mine alone. Any resemblance to any other tag/tut is pure coincidence. This was written for those with working knowledge of PSP.
Supplies Needed:
++Paint Shop Pro ( I used 10 but any version should work)
++Animation Shop 3
++Scrap kit by Katie at Crazed Creations called Baseball Dayz Tagger size can be purchased HERE
++Tube of choice, or the one I used. I used the work of CEI Stickers which can be purchased HERE
++Plug ins:
-Muera Meister Copies
-Tramages Starmaker
-Eye candy 4000 Gradient Glow
++Font and mask of choice
**NOTES:
-Add Drop shadow of choice as you go
-You can merger layers as you want to make things easier for yourself.
Open several papers of choice, resizing as needed. For example, when I look at the blue bar where it tells me what I’ve opened (say like paper 2) it tells me what percentage I’m viewing it at. For me it’s usually 16%, so I resize to 16% bringing it to 100%. ( I hope that made sense!) Once you’ve done this, minimize for later use.
Open a canvas of 600x600, this may seem large but you can always resize and crop later!
Flood fill the canvas with your choice of paper. Add your mask layer and merge group.
Next open the baseball frame, copy and paste as a new layer into the center of the canvas. Add a fat gradient glow with white. Using your magic wand tool, click inside the frame and go to selections, modify, expand by 6. Add a new raster layer and flood fill with your choice of paper. Go to selections, none. Move this layer below the frame layer.
Open your choice of ribbon, resize. Copy and paste into the center of the canvas. Using your plug in, muera meister copies on the encircle option, and shifty x and y at 65. Use whatever number of ribbons you like. Move this layer below the baseball frame layer.
Do the same with your choice of balloon.
Next open the star frame, copy and paste as a new layer into the center of the canvas. Add a fat gradient glow with white. Use your magic wand tool, click inside the frame and go to selection, modify, expand by 7. Add a new raster layer and flood fill with your choice of paper. Go to selections, none. Move this layer below the star frame layer.
Open the scoreboard, copy and paste as a new layer, resize and angle slightly. Move this to the right of the frame, and below the star frame and background layer.
Add your tube of choice, and move to the center of the frame. Resize if you need to.
Next add a balloon, two flags and button of your choice to the right towards the bottom. You’ll need to resize and adjust.
Do the same with the pretzel, snow cone and cotton candy on the opposite side.
Add your text, copyright info, license and tagger markings.
Save it to this point. If you don’t want to do animation, then your done!
ANIMATION:
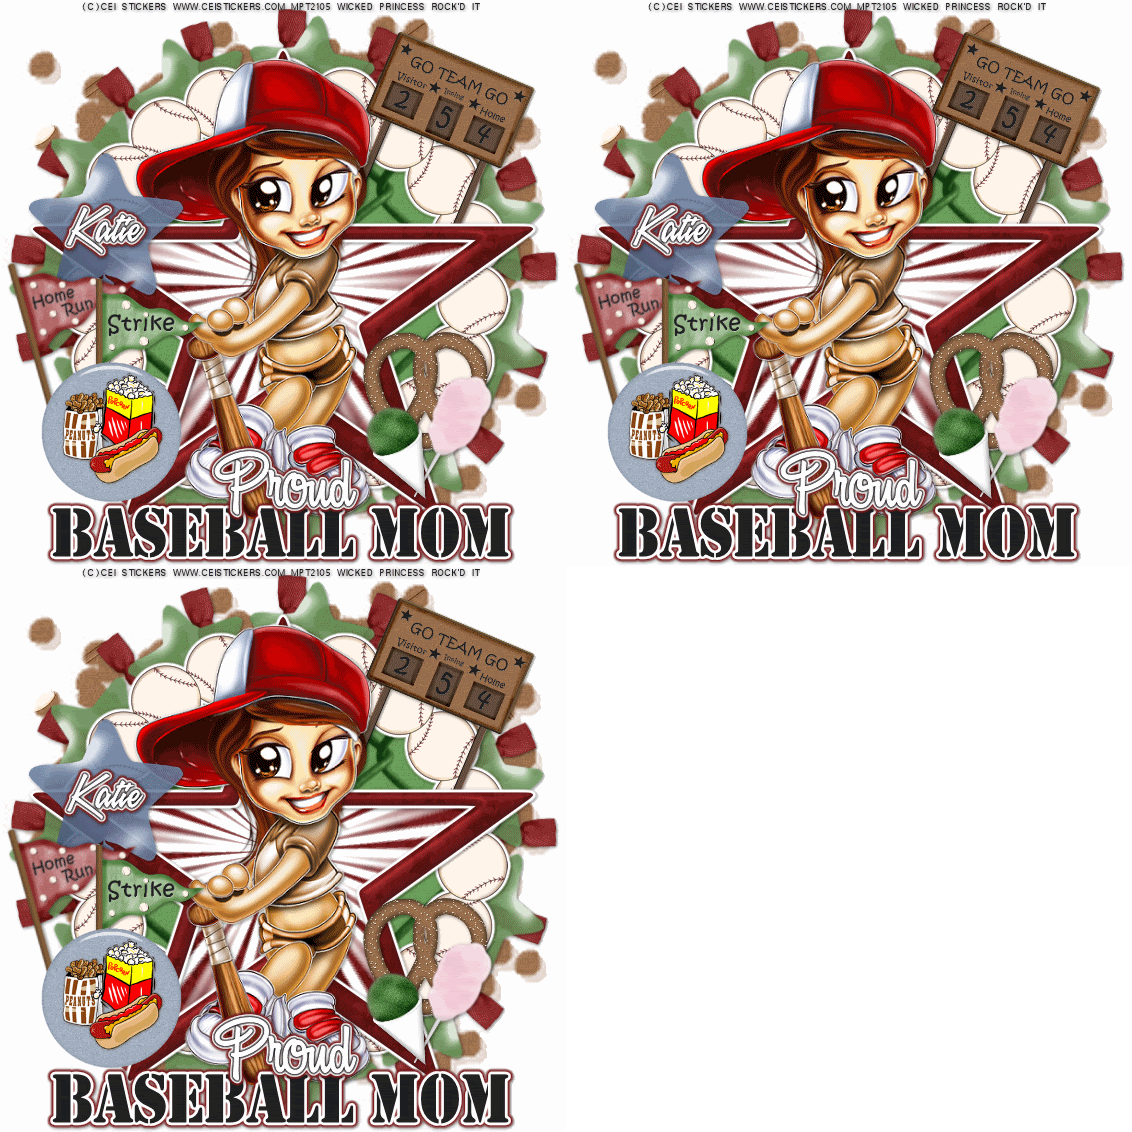
Go to the star background layer and duplicate it twice. You should now have three off them.
Go to the bottom one and use your plug in Tramages. Starmaker. I used the default setting on the first one and clicked ok.
Next go to the one above that and use the plug in again, but change the beam to a few higher. Repeat this for the last one.
Now to animate!
Open your Animation Shop. Go back to PSP, close off the top two background layers, then go to edit, copy merged. Over to animation shop… right click and the pop up menu will come up. Click on paste as new animation.
Back to PSP, close off the bottom layer, open up the middle one. Edit, copy, merged and back to animation shop. Go to Edit, paste after current frame.
In PSP close off the middle layer, and open the top one. Go to edit, copy, merged and back to animation shop. Go to edit, paste after current frame.
Click on the film strip button at the top and animate it. You should now have the background of the star animated!
Save it as a gif and your done. Thank you for trying my tutorial!

No comments:
Post a Comment