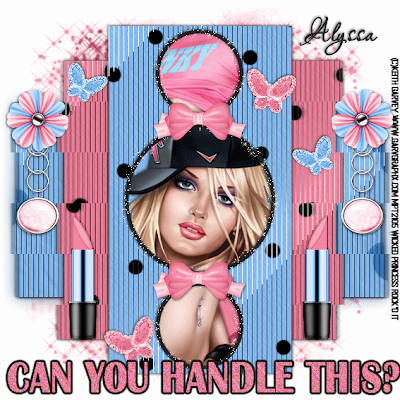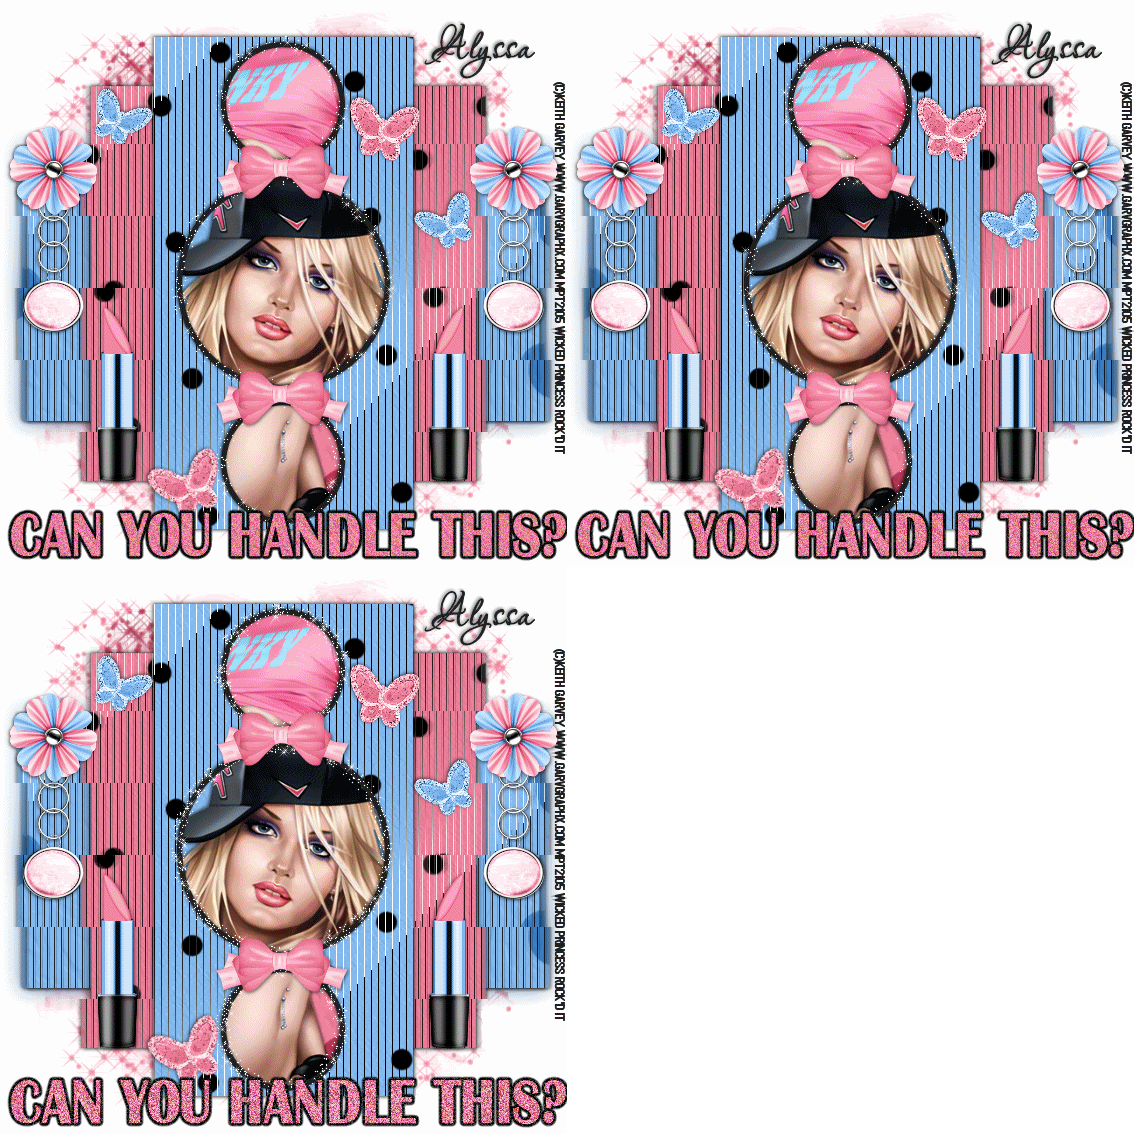

**NOTE CLICK ON THE THUMBNAIL PIC TO SEE THE ANIMATION**
Can You Handle This? (Animated) FTU
This is my first animated tutorial! I hope its easy to use for everyone.
This tutorial was written on July 17, 2009 by Shani aka Wicked Princess. The concept of the tag is mine and mine alone. Any resemblance to any other tag/tut is pure coincidence. This was written for those with working knowledge of PSP.
Supplies Needed:
++Paint Shop Pro ( I used 10 but any version should work)
++Animation Shop 3
++Scrap kit by Alyssa called Girlie spots Add OnHERE++Template by Alyssa can be found HERE
++Template also by Alyssa can be found HERE++Template by Alyssa can be found HERE
++Tube of choice. I used the artwork of Keith Garvey. You can purchase her work HERE You must have a valid license in order to use her work.
++Mask and font of choice
++Plug ins:
-Tramages-Two the line
DSB Flux Linear Transmission
++Xenofex, constellation
++Effects:
-Blur-Guassian Blur
Let’s get started!
**NOTES:
-Add Drop shadow of choice as you go
-You can merger layers as you want to make things easier for yourself.
Open the template in PSP, using your shortcut keys on your keyboard (SHIFT+D) duplicate the template as a new image. Close the original.
Open several papers of choice, resizing as needed. For example, when I look at the blue bar where it tells me what I’ve opened (say like paper 2) it tells me what percentage I’m viewing it at. For me it’s usually 16%, so I resize to 16% bringing it to 100%. ( I hope that made sense!) Once you’ve done this, minimize for later use.
Next go to the bottom template layer and go to selections, select all, then float, selections defloat. Don’t forget to go to selections, none then delete the template layer. Repeat this process for the rest of the template. **NOTE I angled the paper slightly in the pattern palette.
Add a new raster layer, and flood fill with your choice of paper. Add your mask and merge group. Send this to the bottom of the layers palette.
Go to the bottom rectangle layer and use your plug in Tramages-Two the Line with the following settings:
-control0- 80
-control1 – 54
-control2-48
-control3-9
Repeat this for the other two rectangles.
Go back to the bottom rectangle layer and duplicate it. Then go to adjust, blur, guassian blur and use your choice of setting.
Go back to the original rectangle and use your plug in , DSB Flux, linear transmission with the following settings:
Slice Size: 26
Offset: 1
Blend: 50
And set to vertical. Click ok.
Go to the second rectangle layer and do this again with the same settings. DO NOT do this for the last one.
Open your tube of choice, copy and paste as a new layer. Move this layer below the frame you want to put it in. For the top one, I centered it where I liked it then using the magic wand tool, clicked inside the frame, go to selections, expand by 3 and go to selections invert. Go to the tube layer and hit delete on your keyboard. Go to selections, none.
Repeat this for the other two frames.
Open the lipstick element, copy and paste as a new layer to the left on second rectangle layer. Duplicate it and go to image, mirror.
Next add a bow of choice after resizing to the space between the frames. Adjust as needed.
Open the charm and flower of choice. Copy and paste the charm to the left hand side of the first rectangle in the corner. Duplicate it and go to image, mirror then also add the flower. Duplicate this also and go to image mirror.
Next open the butterflies and place in various positions where you like on the tag. Adjust as you need.
Add your copyrights, license info, tagger marking and any text you want.
SAVE this now as a psp image so that you have it for the basis if you chose not to animation later. Or if your not doing the animated part, go ahead and save as normal and be done.
++ANIMATION++
Go to your frames, close off everything and merge JUST the frames together. You should now have one layer with all three frames.
Duplicate this layer three times.
Go to the bottom frame layer, and add your constillation plug in with the following settings:
Star Size: 2.16
Size Variation: 6
Edge Star Density: 1
Overall Star Density: 1
Overdrive 100
Twinkle Amount 55
Twinkle Rotation: 45
Make sure keep original image is selected.
Hit the random seed button-this will set it at random.
Click ok and you will see where this now looks like you have a bunch of little stars all over the frame.
Go to the frame layer right above this one, your going to add the constellation plug in again. Same settings (which should come up as default) click Random Seed again and click ok. Repeat this for the last one also.
Now comes the tricky part!
Open your animation shop.
Go back to PSP and close off the top two frame layers, go to edit, copy merged. Go to animation and right click, when the menu pops up, click on paste as a new animation.
Go back to PSP, hide the first layer and open the second go to edit, copy merged. Go to animation and go to edit, paste, paste after current frame.
Back to PSP one more time and close off that layer and open the final one. Go to edit, copy merged and back to animation shop. Go to edit, paste, paste after current frame.
Now go to the animation button up in the tool bar, it looks like a film strip.
If your satisfied, save it as a gif and your done!
Thanks for trying my tutorial.

No comments:
Post a Comment