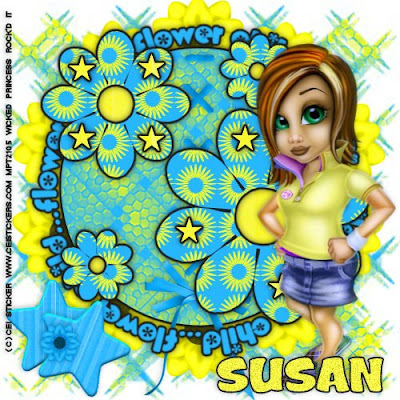
Flower Girl-PTU
This tutorial was written on July 11, 2009 by Shani aka Wicked Princess. The concept of the tag is mine and mine alone. Any resemblance to any other tag/tut is pure coincidence. This was written for those with working knowledge of PSP.
Supplies Needed:
++Paint Shop Pro ( I used 10 but any version should work)
++Scrap kit by Susan aka HippieDaze called Summer Time Brights can be purchased HERE
++Tube of choice or the one I used. I used the artwork by CEI stickers. You can purchase it HERE You must have a valid license in order to use it.
++Template by Susan can be found 006HERE
++Plug ins:
-Xero Porcelin
-Muera Meister Copies
-Eye Candy 4000 Gradient Glow
++Mask and font of choice
Let’s Get Started!
**NOTES:
-Add Drop shadow of choice as you go
-You can merger layers as you want to make things easier for yourself.
Open several papers of choice, resizing as needed. For example, when I look at the blue bar where it tells me what I’ve opened (say like paper 2) it tells me what percentage I’m viewing it at. For me it’s usually 16%, so I resize to 16% bringing it to 100%. ( I hope that made sense!) Once you’ve done this, minimize for later use
Next go to the bottom template layer and go to selections, select all, then float, selections defloat. Don’t forget to go to selections, none then delete the template layer. Add a gradient glow on the fat setting the colors of your choice. Repeat this process for the rest of the template.
Add a new raster layer, flood fill with your choice of paper. Load the mask of your choosing, remember to merge group. Move this layer to the bottom. **Note I duplicated the mask and did image, mirror. This optional.
Open one of the flowers you like, copy and paste as a new layer. Move to the center of the template. Go to your plug in muera meister copies and use the encircle option. I set x and y to 65. Number of flowers: 10. Once satisfied click ok and move this layer to the bottom, just above the mask layer. Adjust as needed.
Next open one of the ribbon lace ups. Copy and paste as a new layer, moving it to the center of the circle layer. Make sure this layer is below the flowers layers. Adjust as needed.
Add a star and flower of choice to the bottom left hand side. I duplicated the star and angled one.
Open your tube of choice add your xero, porcelin plug in at the setting of your choice. Copy and paste your tube to your canvas. Adjust and move where you like.
Add your text of choice, copyrights, license number and tagger markings.
Save and your done!
Thank you for trying my tutorial.

No comments:
Post a Comment